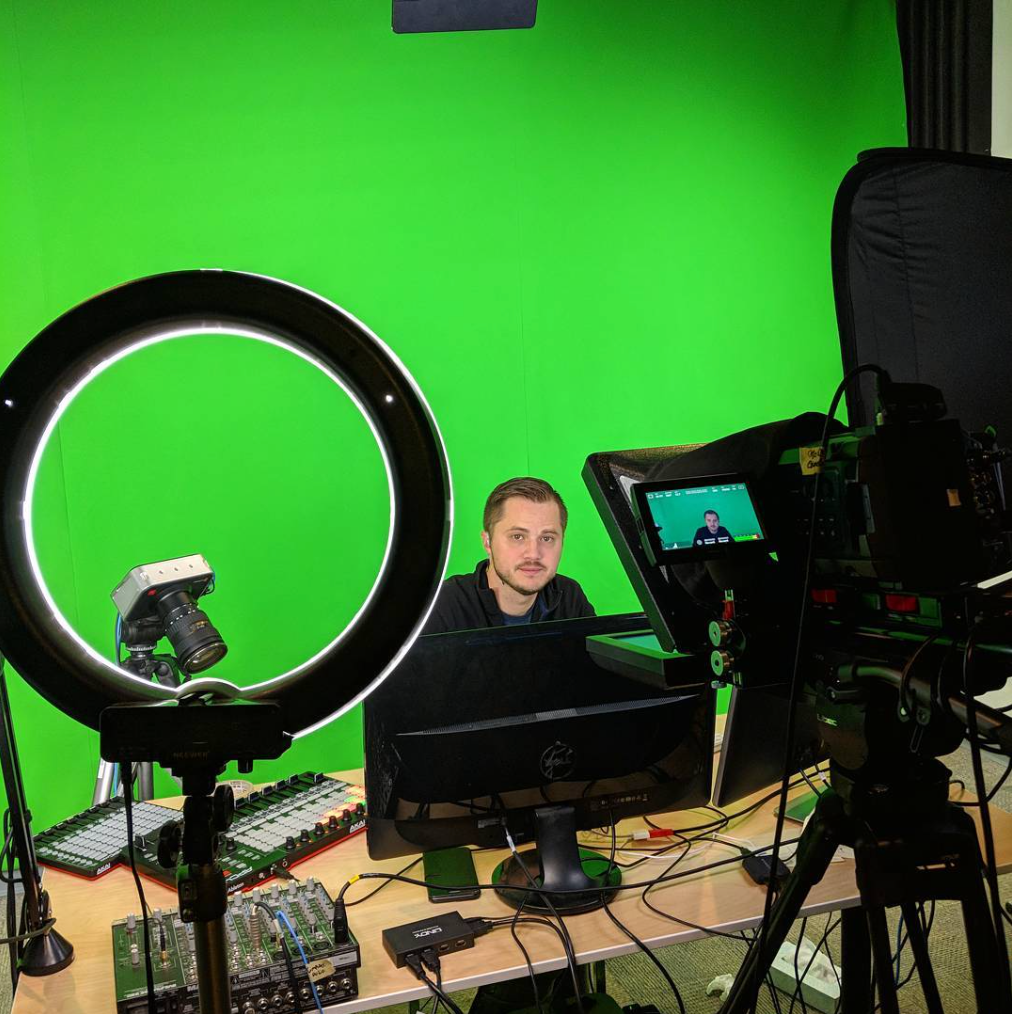
We’ve been using green screens and chroma key filters in our WirecastLive and ScreenFlowLive shows as well as our webinars for a number of years now. During this time, we’ve learned a lot… but that’s not to say we don’t still have much to learn. One of the most important things we’ve learned over the years is that there are two worlds when it comes to live green screen work. The ideal world and the real world. Unfortunately for us, these worlds don’t always see eye-to-eye. If you’re like most people or organizations (low budget or just learning this for the first time), you will find yourself more often than not working in the real world. In an effort to take some of the guesswork out for you, we are sharing our top green screen tips (most of which we’ve learned through trial and error in our own studio), conveniently organized in order of reality.
Ideal World:
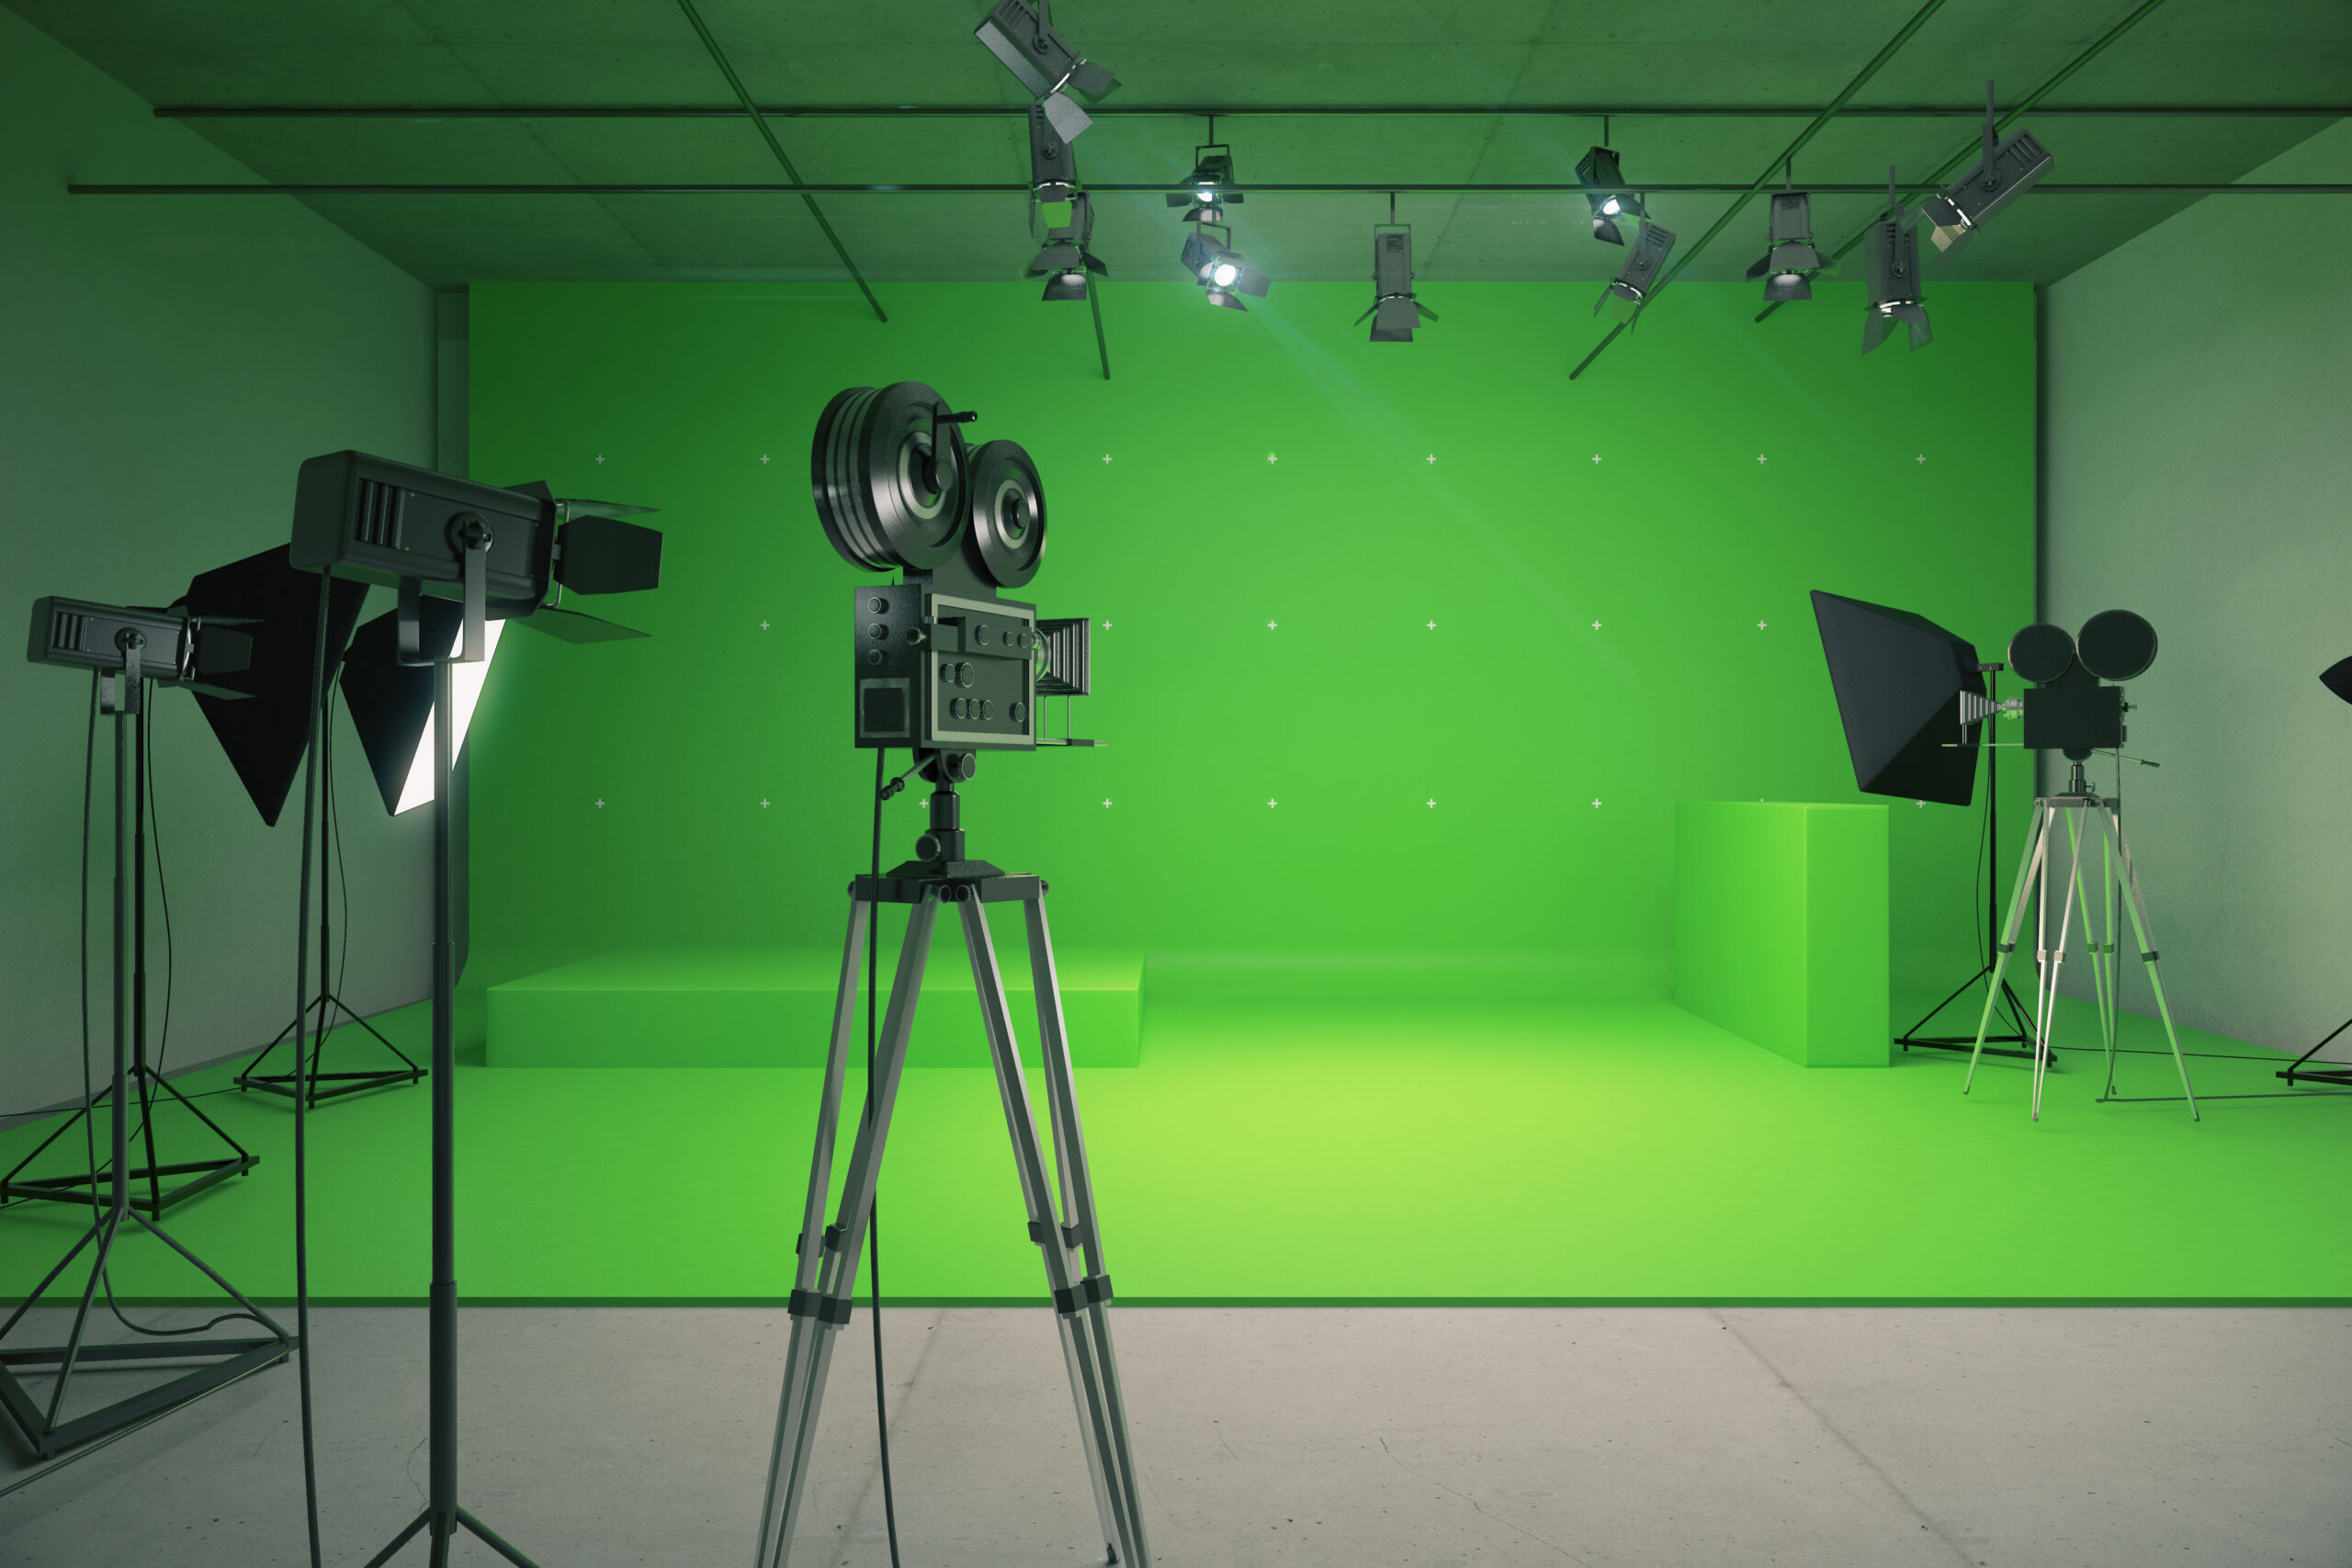
- Spend the time and money to set up a pro green screen studio where you have enough room to shoot head to toe with green all around you to allow for wide shots, mediums and close-ups
- Walls that aren’t green should be matte black and sound proofed to absorb light/minimize reflection and noise
- Use a separate lighting rig just for your green screen to even out lighting, reduce shadows, and allow brightly lit but not blown out shots
- Subject should stand 10-20 feet in front of the green screen to minimize bounce and splash
- Light the foreground subject separately, match your lighting to your virtual set/background and make sure you light your subject’s head and shoulders properly to remove fuzzy edges and green spill
- Hair is the trickiest thing to chroma key – spend time lighting it properly
- Add blurs and filters to your backdrops and virtual sets to mimic focal lengths
- Use moving backgrounds not static ones when possible/appropriate, even a small amount of motion can give “life” to a fake background
- Ad props and real-world effects to match backgrounds as appropriate
- Spend time testing ahead of time – different skin tones, clothing and props will key differently, and you will need to fine tune as you go (there is no 1-size fits all)
Real World:
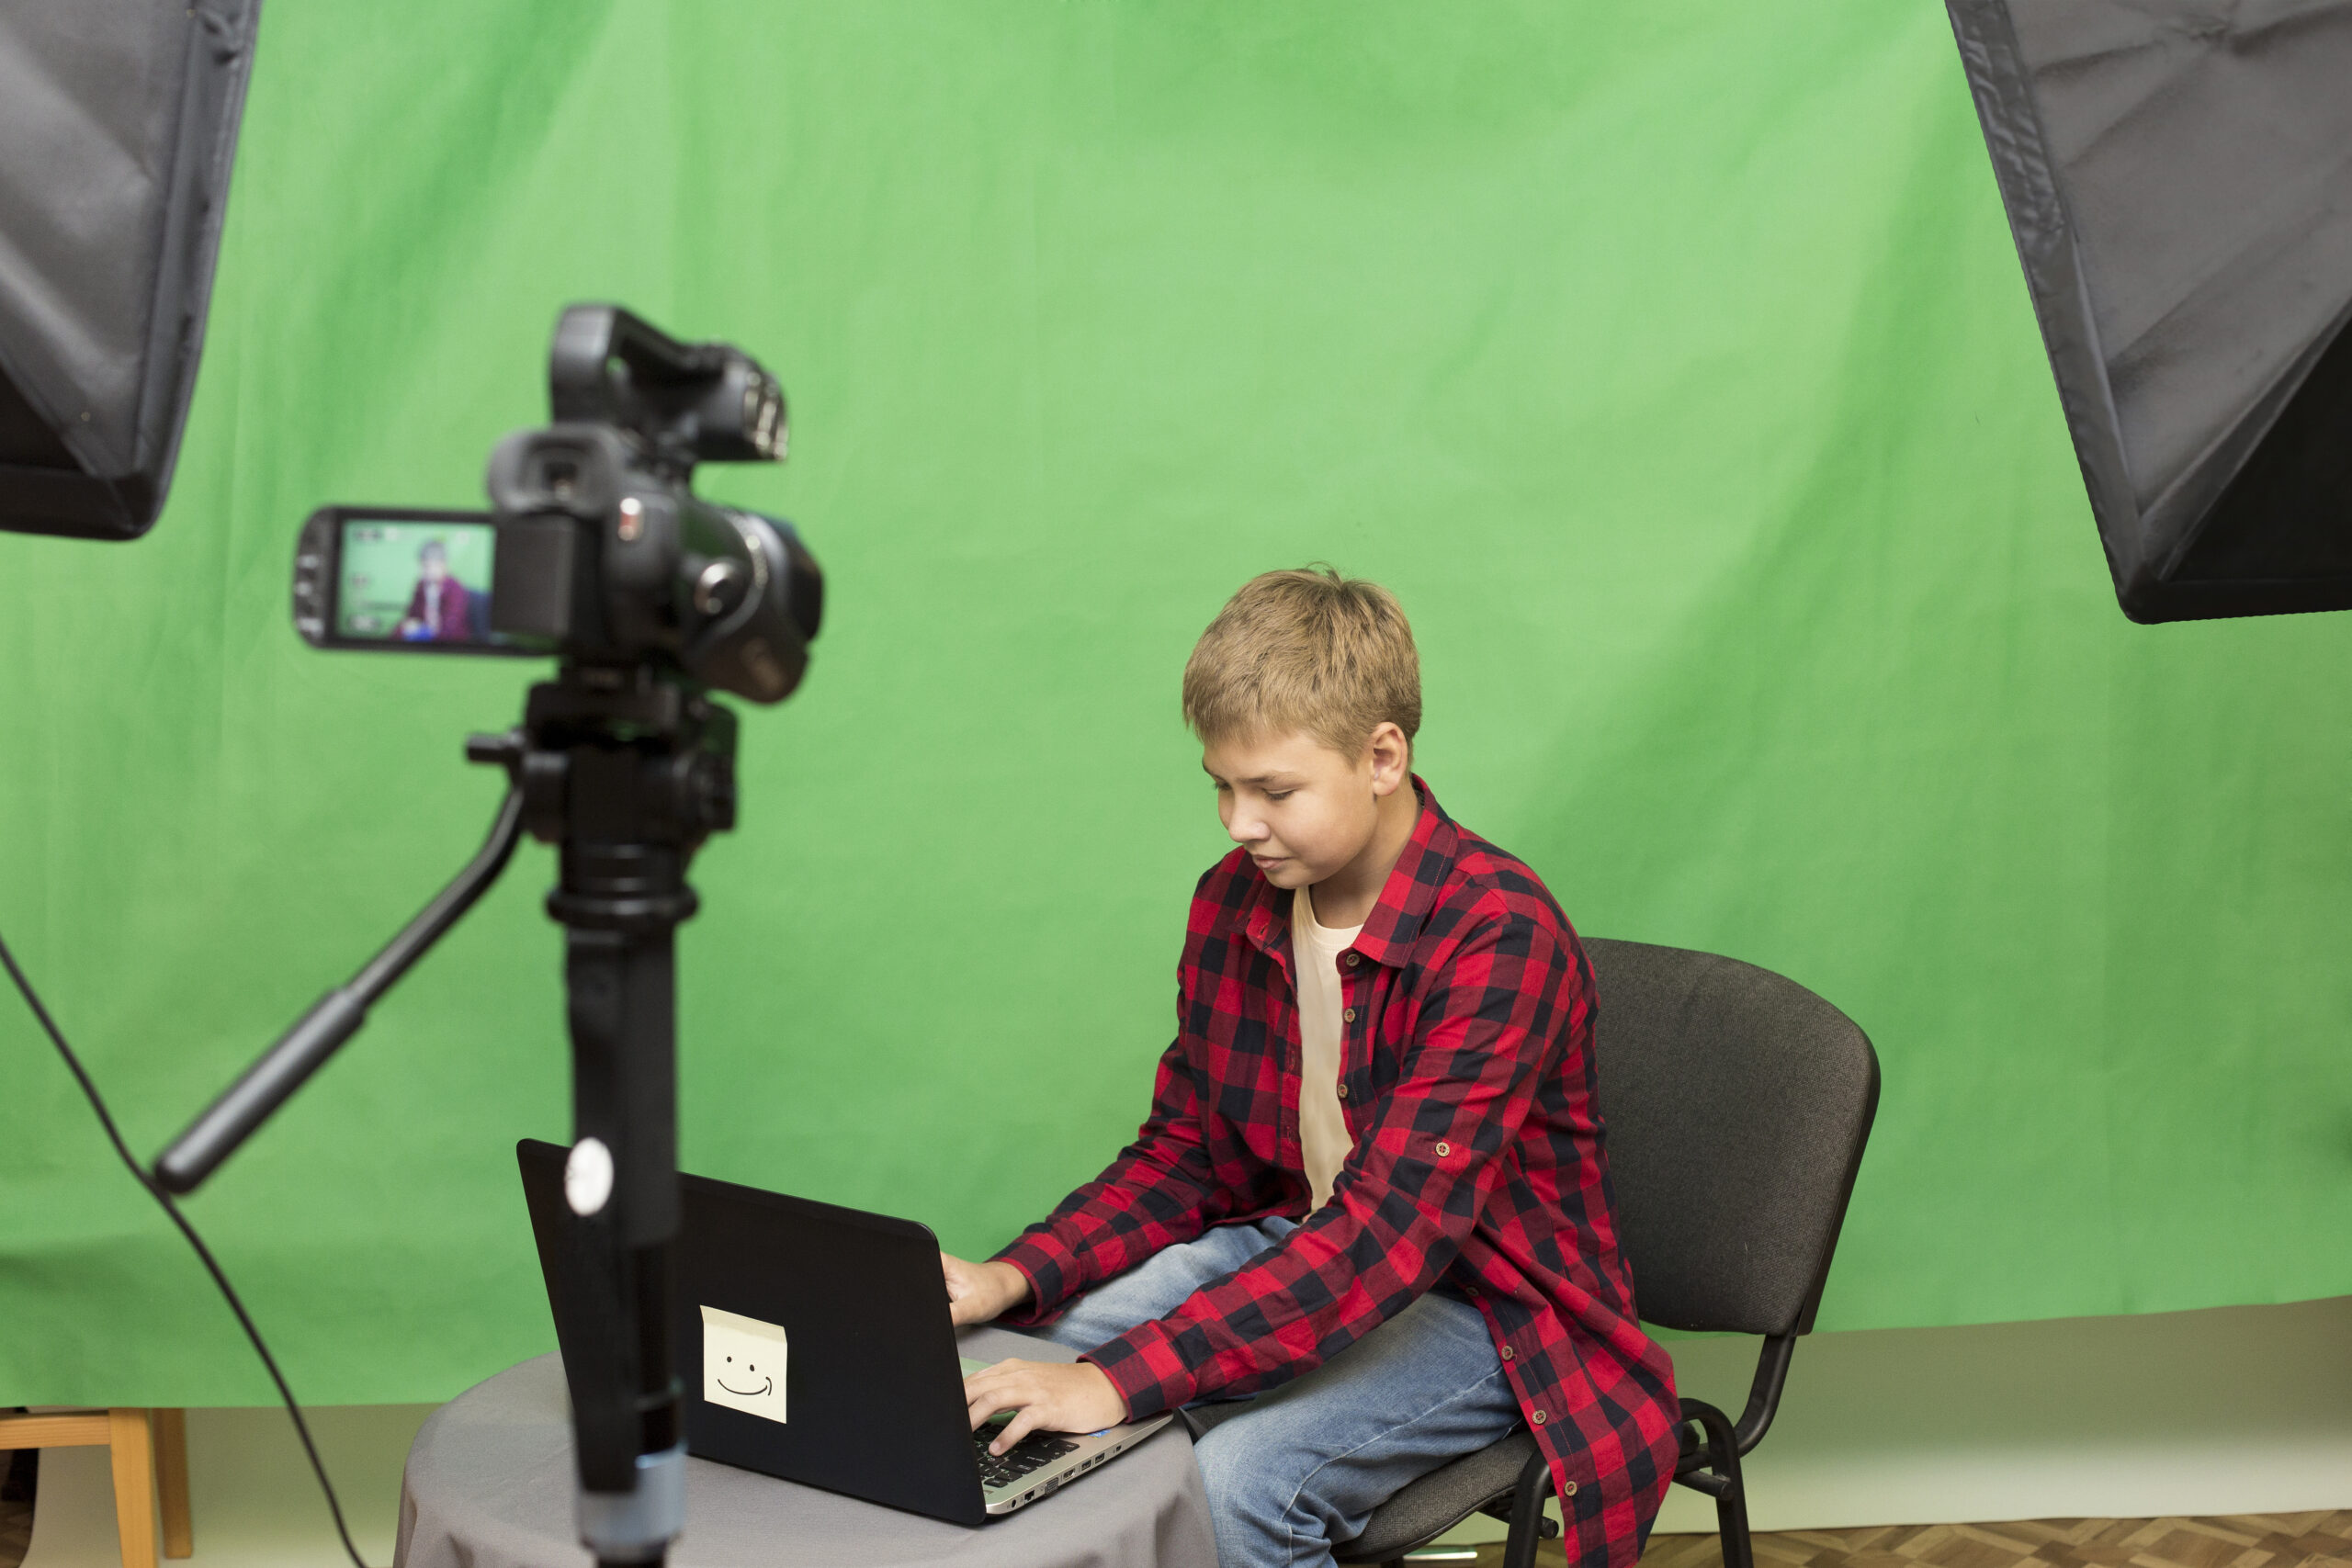
- Get something green behind you (whatever is in your budget – construction paper, bedsheet, paint, $100 green screen kit from Amazon, just do it)
- Light your “screen”- go to the hardware store or buy some $100 lights on Amazon – bright softbox lights and LEDs are best. They have a better, even lighting, and they stay cool.
- More often than not, you will use some of or many of the same lights to light your foreground subject that you are using to light your green screen — that’s ok. You can get by doing this, but your mileage will vary depending on the amount of light and the quality of your chroma keyer
- Generally, you won’t be able to match your background lighting. That being said, try to pick backgrounds that match your studio lighting (hint – cast even light on everything or pick abstract backgrounds)
- If you are too close to your green screen (because of space constraints) get more lights on your subject, and, in a pinch, you can use some magenta lighting gel filters (B&H Photo) to neutralize some of the green bounce/backsplash
- Lastly, and arguably most important, don’t wear green ;)
Remember, even a bad green screen is more fun than no green screen. You will be surprised at the creative possibilities that will open up once you can “teleport” yourself anywhere. It’s totally amazing.
Also, for what it’s worth, a few years ago a Telestream employee named Matt made a fantastic video on how to light your green screen that is still one of the most popular green screen how-to videos on YouTube: https://www.youtube.com/watch?v=MPrvEyw-3mo
Let us know in the comments below if you have any tips to add to our list!

