Creating customized graphics with Photoshop for Wirecast will benefit many that need to produce high quality Webcasts or Live Streaming events. The benefit of using Wirecast over other Free Live Encoding tools is it’s a full production studio in software and it can perform many tasks that the other tools can’t. Wirecast comes with a host of built in title templates that can be adjusted for you webcasts. The fact that these templates are available within Wirecast is amazing.
So for this tutorial we’ll show you how to create customized graphics with Photoshop to take into Wirecast. This will allow you to take your webcasts to the ‘next level’ by having titles/lower thirds that have your logo, special colors, designs etc. The other benefit is you can continue to use your normal TV and Video Production graphics creation workflow. OK, Se let’s get to it!

First create a New Image in Photoshop. The size can be 842 x 132 and make the resolution 72 ppi. For this graphic, you’ll create a Solid to Transparent gradient for your bottom layer. Second, create a new layer and select the Gradient Tool from the Tool Palette. Make sure Foreground to Transparent is selected similar to above. Notice how royal blue is the Foreground color and the other color is transparent indicated by the checkerboards that can be seen on the Canvas. You can change your Foreground color by clicking and adjusting the Foreground color on the Tools Palette.
OK, once you’ve selected the Foreground to Transparent gradient select your New Layer and an on the Canvas hold down your Mouse and click and drag starting from the left and drag to the right (Let go of you Mouse about 3/4 of the way). This will make the gradient appear the way you designed it. In this case our layer displays a Royal Blue to Transparent Gradient. Keep in mind you can reverse the Gradient and have it appear Foreground to Transparent from the right to left. Remember, this layer should be on a layer all by itself.
![]()
Now you can add additional layers with text and other elements similar to above by clicking the Horizontal Type Tool and/or using the Rectangular Marquee Tool. Both are located on the Tool Palette. Make sure you prioritize all layers above the Foreground to Transparent gradient layer.
Once your graphic is ready Save a copy as a Photoshop file and then Save a copy as a PNG file. You’ll use the PNG file to take into Wirecast. Saving the Photoshop file maintains all of your layers in case you want to edit the graphic later. Now, let’s move on to the fun part with Wirecast.

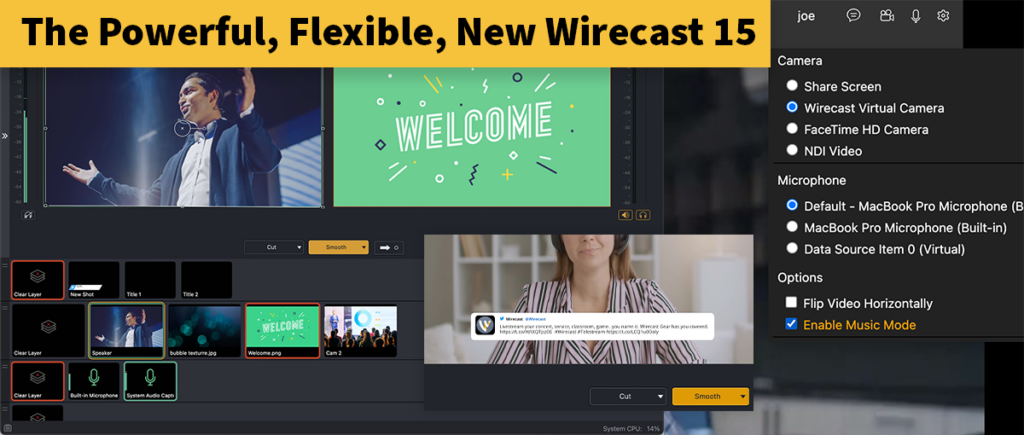
Place your PNG graphic somewhere on your computer. Next Open up Wirecast. Make sure the Title Layer is selected and Choose File Import Media from the Wirecast Pull-down menu. To view the Title Layer you’ll have to choose Layer Panel from the Layout Pull-down Menu.

Locate the PNG image that you want to bring into Wirecast and choose Open.

Notice that the new graphic is displayed on the Title Layer, which is above all the other layers. The Layer ordering in Wirecast works similar to Photoshop and Non-linear Editing tools. Whatever is displayed at the top of the layer list has the priority. You can see that the image we brought in has the graphic displayed in the middle but you’ll want your title/lower third displayed on the bottom. This way it will appear below the speaker, presenter or person talking. Let’s adust this now. Select the Customized Title you created in Photoshop. Now Control-click (for Mac)/Right-click (for PC) to view the Contextual Menu and select Edit Shot.

Once the Editor opens, you should see the image you created centered in the middle of the Canvas. Click and drag it down toward the bottom of the Canvas similar to above. Now close you Edit Window.

Lastly, it’s time to display your image on top of your video. This is an important step and it will give you a better understanding of how Wirecast works. Bring up a video or camera source on the Normal Layer and click the Go button. Once your source is live in your Program Window navigate to the Title Layer and click on the graphic you created earlier so that it’s in Preview. Make sure the Smooth transition is selected and click the Go button. Now your title should appear over top of your video similar to what’s above.
Notice that the you can see the Foreground to Transparent effect that we created with the gradient tool. What’ nice about Wirecast is that it automatically recognizes items that should be transparent without you having to add any special Alpha Channels. Keep in mind you can create 10 – 15 customized graphics in Photoshop and then have then displayed periodically during your Webcast or Live Streaming event.


